June 30, 2026
Compare vendors the smart way when you buy a POS system for restaurants. Learn where to buy, how to buy, and what to review in quotes, contracts, and fees.
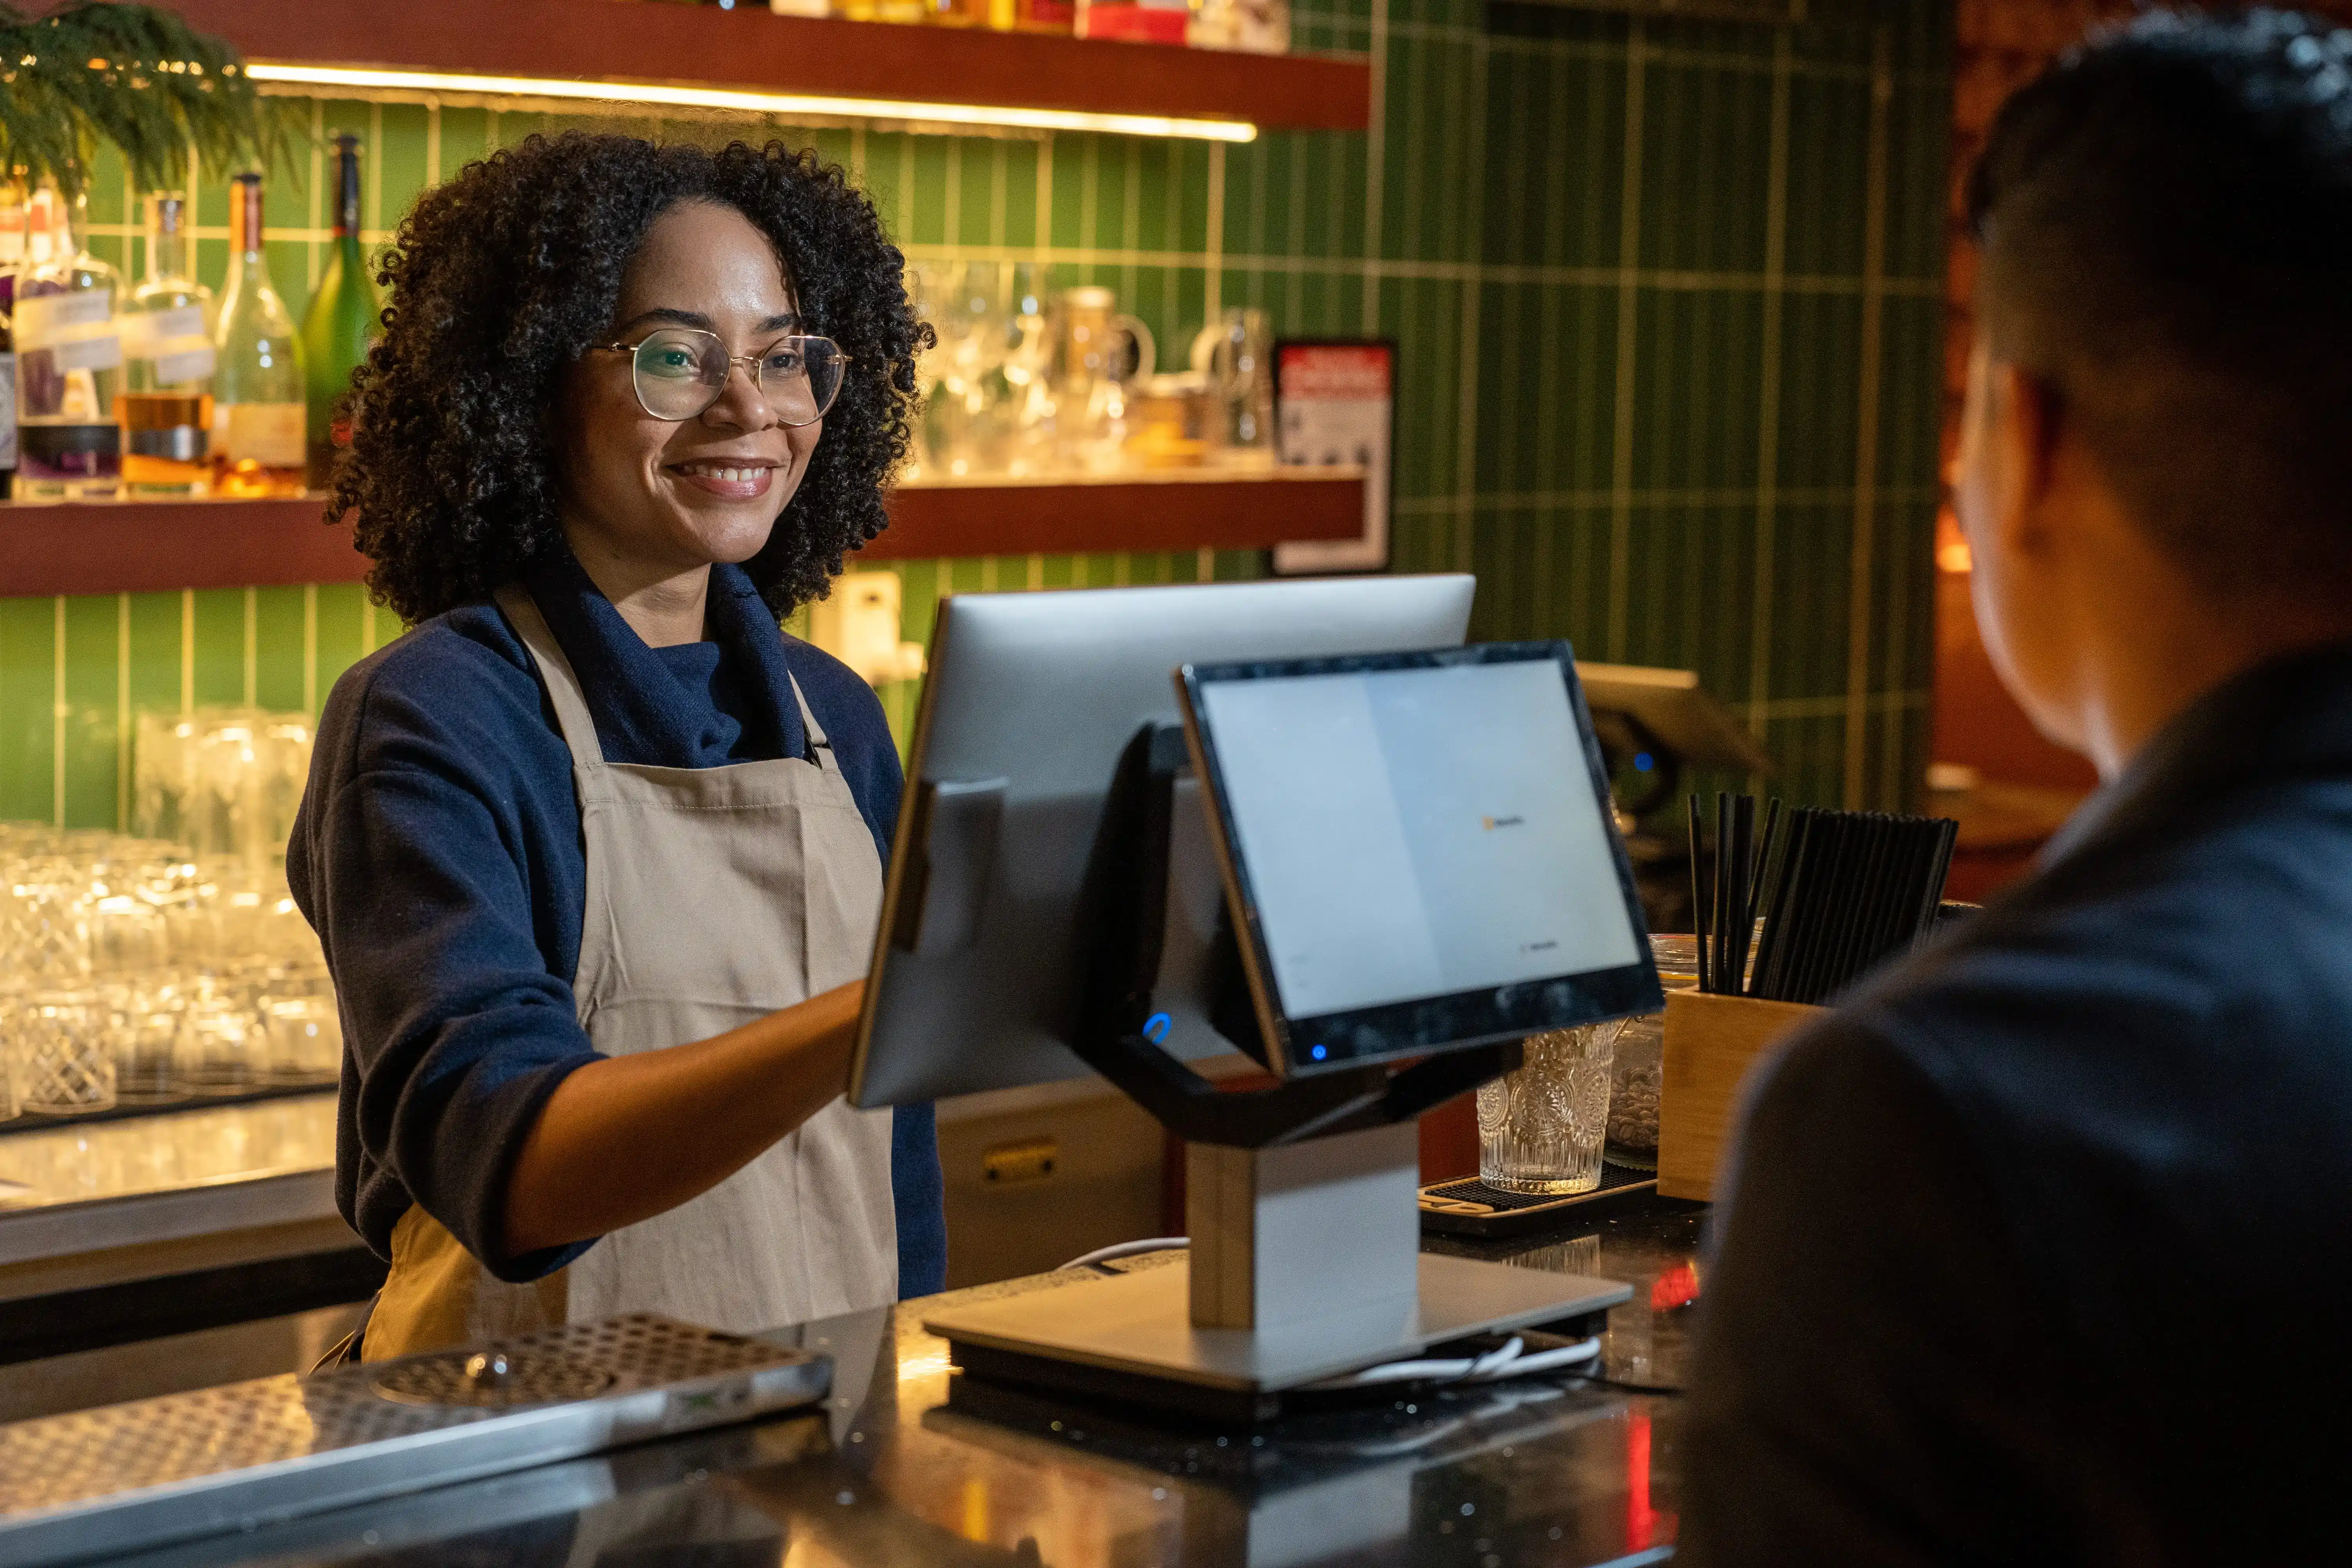
Buying a restaurant POS can feel simple until you compare the full bill, the contract, and how support works during a busy shift.
If you plan to buy a POS system for a new opening or a switch, you need more than a polished demo and a low monthly quote. You need a clear place to purchase, a quick way to shortlist vendors, and a checklist that protects your budget.
Want to choose a POS you can install, train on, and run day one without surprises? This guide walks you through where to shop, how to compare options step by step, and what to review before you sign.
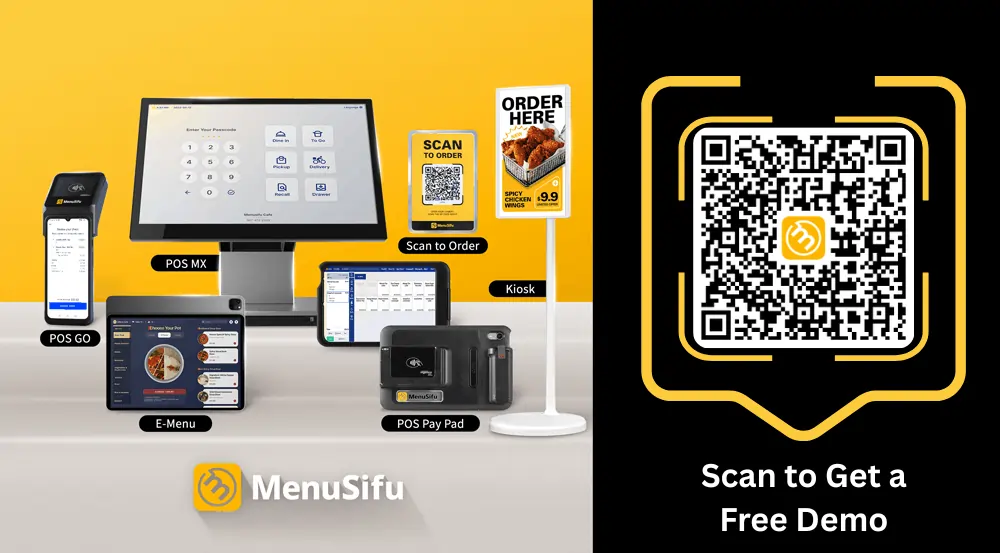
You have four main places to shop for a restaurant POS. The right channel depends on how quickly you need to go live, how much hands-on setup you want, and how much control you want over hardware and pricing.
If you want one team to handle setup from start to finish, start here. Direct providers often bundle software, hardware options, implementation, and training. This route works well for new openings with tight timelines and for switches that need a clean cutover.
Best for
Watch for
Local dealers can help if you want on-site installation and a nearby service contact. This can help when you need physical support for wiring, printers, kitchen setup, or multiple stations across the floor.
Best for
Watch for
Marketplaces help you compare brands quickly and spot promos. This route can speed up initial research, but you still need to confirm the full package before you commit.
Best for
Watch for
If you want flexibility, you can source tablets, terminals, printers, and cash drawers yourself, then subscribe to POS software. This can work well if you want to control hardware costs or reuse compatible equipment during a switch.
Best for
Watch for
No matter which route you choose, ask for an itemized quote and confirm who supports you on day one and during a busy shift. That simple step helps you compare options and avoid surprises later.
Most demos look great in a quiet room. You need a faster path that shows what happens on a Friday night and what the bill looks like six months later. Use these five steps to move from long lists to a short, workable shortlist.
Start with how you run service today and how you plan to run it next year. Write down the workflows that drive speed and accuracy, then circle the ones you cannot compromise on.
Add specific features that support those workflows, such as tableside ordering, a kitchen display system, online ordering, inventory management, and loyalty programs. Keep the list tight. If every feature is a must-have, nothing is.
A POS needs to fit your floor plan, your internet, and your hardware setup. Get clear on the basics before you look at pricing.
If you run more than one location, include your rollout needs, store-by-store timing, and who manages updates across sites.
Skip the endless comparison tabs. Use a one-page scorecard and keep it consistent across vendors. Rate each category 1–5 and add a short note.
Include these categories:
After scoring, pick the top 2–3. Everything else drops off the list.
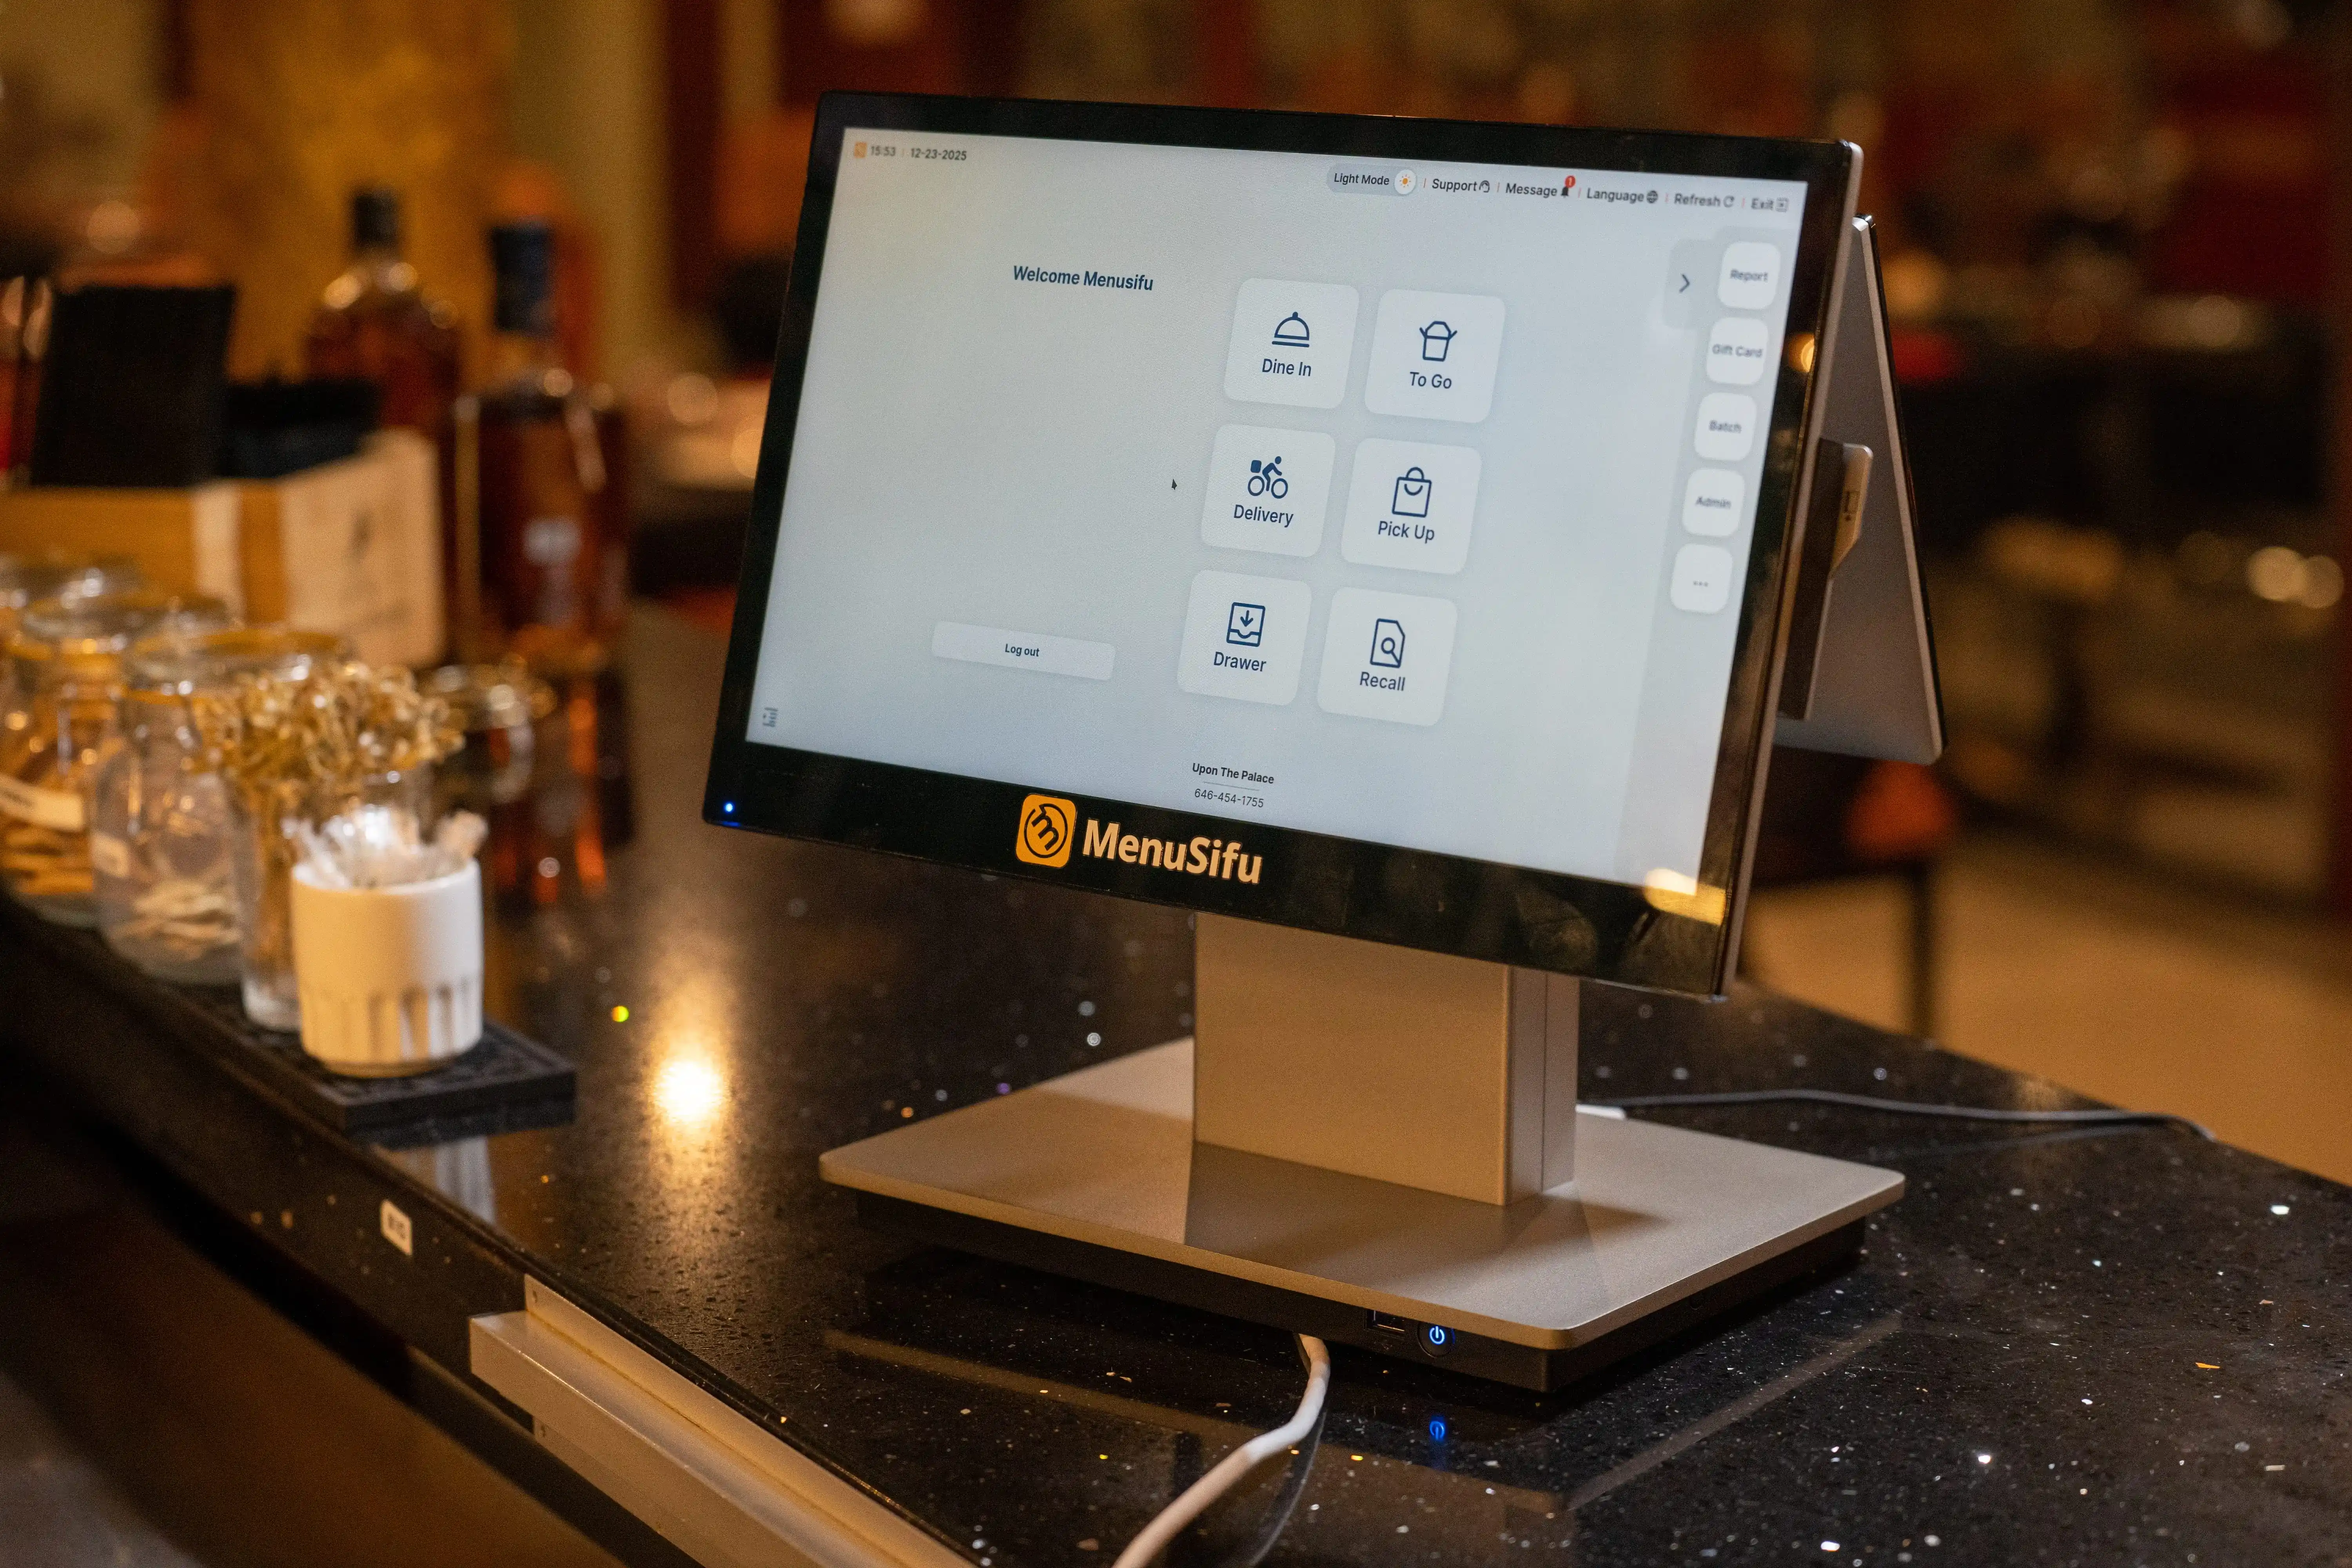
Ask for a demo that matches your actual menu and your real service flow. Bring a manager or lead server who knows where the POS breaks during rush.
Run these tests:
Pay attention to tap count, screen flow, and how fast a new staff member can learn the basics.
A POS can look smooth in a demo and still fail during rollout if onboarding drags or training feels rushed. Get clear details before you sign.
Confirm:
For a switch, ask how they handle menu build, data migration, and cutover timing. For a new opening, confirm install dates and what you need ready before they arrive.
If you follow these steps, you cut the process down to a few focused demos that reflect real service and real costs.
Before you sign a quote, run through this checklist. It keeps costs clear, avoids surprises, and helps you pick a system your team can run on day one.
Ask for a full cost view, not a single monthly number. Include:
Tip: Request a one-page summary that separates one-time fees from monthly fees.
Read the fine print early so you do not get trapped later.
If a key term affects your budget, get it written into the order form.
Service issues do not wait for business hours. Verify:
Tip: Ask how support handles printer failures, network drops, and payment outages.
Hardware takes constant wear. Choose a gear built for your floor.
If you plan to scale, standardize hardware across locations for easier training and swaps.
Integrations should reduce manual work, not add it. Confirm:
Ask who supports each integration and what happens when it breaks.
Good reporting helps you act fast.
Tip: Ask to see the reports you will use weekly, not a highlight reel.
Protect your revenue and reduce risk.
If you run multiple locations, confirm you can set permissions by role and by store.
A POS should match your pace on a busy shift.
Tip: During demos, run your busiest shift actions from start to close.
For new openings: prioritize setup speed and training support.
For POS switches: prioritize migration plan and downtime control.
Leasing and buying both work. The best pick depends on your cash flow, timeline, and how long you plan to keep the hardware. If you’re opening a new location or switching systems, compare the total cost over the same time period before you commit.
Buying is best when you want to lower your total cost over time and keep full control of your setup.
Tip: Ask for a 24–36 month cost summary that includes hardware, warranty, support, and any required add-ons. Then compare it to a lease offer over the same term.
Leasing can fit best when you want to protect cash up front and keep monthly costs predictable.
Tip: Confirm exactly what the lease payment covers. Some plans include replacement hardware and support, while others charge extra for break-fix service.
Bring these points into every pricing call and proposal review.
If you want a quick rule: choose the option that gives you the clearest 24–36 month total, the least contract risk, and support you can count on during service.
Hidden fees usually show up after you approve the “monthly price.” Treat every proposal like a bill you plan to pay for the next 12 to 36 months. Use this quick fee audit during quotes so nothing slips in later.
Implementation and installation
Hardware setup, menu build, and migration
Payment processing rates and surcharges
Add-ons that raise the monthly bill
Extra terminals, user licenses, and locations
Support tiers
PCI, compliance, gateway, and chargeback fees
Contract clauses that increase cost
1) An itemized quote
Ask for one page that separates:
2) A 12 to 36-month total cost estimate
Ask the vendor to calculate the full cost using your real setup:
Then compare vendors using the same timeframe.
3) Contract terms in writing
Get these in writing before you sign:
Close the loop by reviewing the quote and the contract side by side. If a fee shows up in one document but not the other, flag it and get it corrected before you move forward.
The best POS is the one that fits your concept, team, and daily rush. Start with your service style and growth plans, then match the system to the work you repeat every shift.
New openings
Choose a POS with fast setup, guided onboarding, and simple training. Look for clean menu-building tools, clear roles and permissions, and support that stays close through launch week.
Switching POS
Prioritize smooth migration and a clear cutover plan. Ask how the provider moves your menu, taxes, modifiers, and customer data. Get a downtime plan in writing and confirm live support during the switch.
High-volume QSR
Focus on speed and throughput. Handheld ordering, quick modifiers, smart kitchen routing, and a strong KDS flow keep lines moving. Check that the system holds up during peak hours and still runs key reports fast.
Full-service restaurants
Pick a POS built for tables and pacing. Look for coursing, seat management, tableside ordering, flexible splits, and easy modifier handling. Test how it routes tickets to the right stations and how it handles tips and comps.
Small chains
Go for multi-location controls and consistent execution. Centralized menu management, consolidated reporting, and location-level permissions help you standardize service. Confirm rollout support, training tools, and how updates flow across stores.
A POS decision moves quickly once you narrow your shortlist. Keep your focus on three things: the full 12 to 36-month cost, the contract terms you can live with, and support that holds up during a busy shift.
Run the same real-service demo for each vendor, then compare itemized quotes line by line. This process keeps pricing clear, protects your rollout, and helps your team train faster on day one.
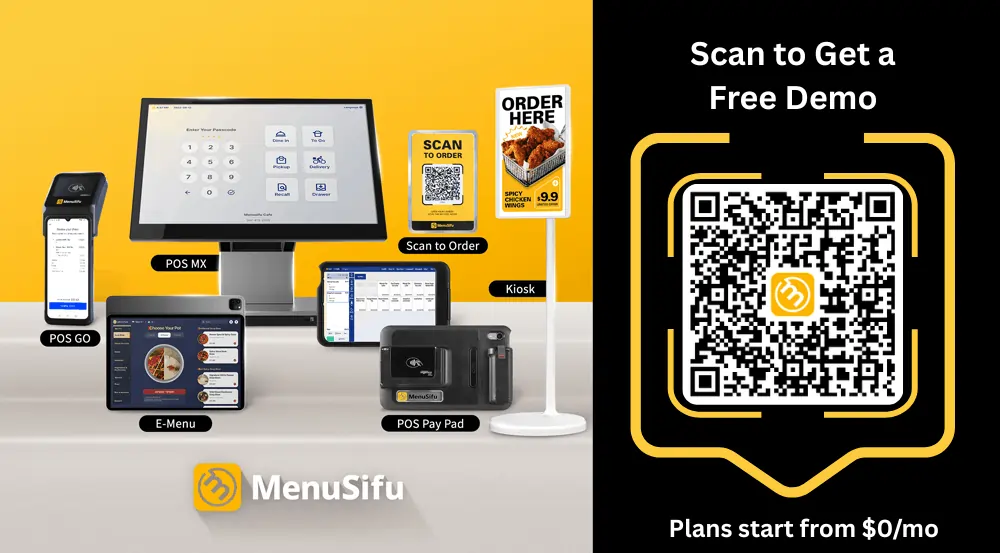
If you want a practical walkthrough based on your menu, floor plan, and service flow, book a Free Demo with us today. We’ll review your setup, show how the system handles your busiest scenarios, and share a clear cost outline so you can decide with less risk and fewer surprises.
You’re about to make an important POS decision, so these FAQs cut through the noise on costs, contracts, features, and support. Use them as a quick check before you shortlist vendors, sign a quote, or replace your current system.
Buy a restaurant POS that fits your service style and daily workflow. Start with core needs like fast order entry, table management, menu modifiers, split checks, and secure payments. Then choose the features that match your operation, such as online ordering and delivery integrations, inventory, staff scheduling, kitchen display screens, and loyalty.
Prioritize reliable hardware, offline mode, strong support, and clear pricing that includes payment processing, add-ons, and contract terms. Ask for a live demo using your menu and run a short trial before you commit.
Most restaurant POS systems charge a monthly software fee (often around $50–$200+, depending on vendor, plan, and whether pricing is per device or per location). Hardware is typically a one-time cost of about $500 to $2,500+ per register, depending on what you need. Card processing fees apply to each transaction and are often around ~2.5% to 3.5% (sometimes plus a per-transaction fee), depending on the processor and payment type.
No single POS always has the lowest fees because costs depend on your payment processing rate, monthly software plan, hardware, and add-ons. To find the lowest-fee option for your restaurant, compare 12–36 month totals from 2–3 providers and ask for an itemized quote that includes processing, PCI, chargeback, support, and any per-terminal or per-location charges. Prioritize transparent pricing and avoid plans that hide fees in add-ons or long contracts.
Some POS providers offer plans with no monthly software fee, but they often offset costs through payment processing rates, add-ons, hardware requirements, or support tiers. If you want a true comparison, ask each vendor for an itemized quote and a 12 to 36-month total that includes processing, terminals, add-ons, installation, and support.
MenuSifu also offers a grant program for some new restaurant openings with $0 upfront costs and no monthly fees for the core POS setup. Program terms and eligibility vary by location and restaurant profile, so confirm details during a demo.
Free POS systems can work for very small setups, but most restaurants outgrow them quickly. Many “free” plans charge through payment processing markups, paid add-ons, hardware costs, or limited support. Before you commit, confirm the full monthly cost, offline mode, reporting depth, integrations, and what you pay to add terminals or features like online ordering and loyalty. If you run a busy shift, manage multiple locations, or plan to scale, a paid restaurant POS often delivers better uptime, support, and predictable pricing.
For more insights and updates, visit our blog section for guides on POS selection, rollout planning, and restaurant operations.
DISCLAIMER: This article provides general information only and does not offer legal, financial, or tax advice. Pricing, features, and terms vary by provider and may change over time. Always review quotes, contracts, and fee disclosures before you purchase.
Related Articles: