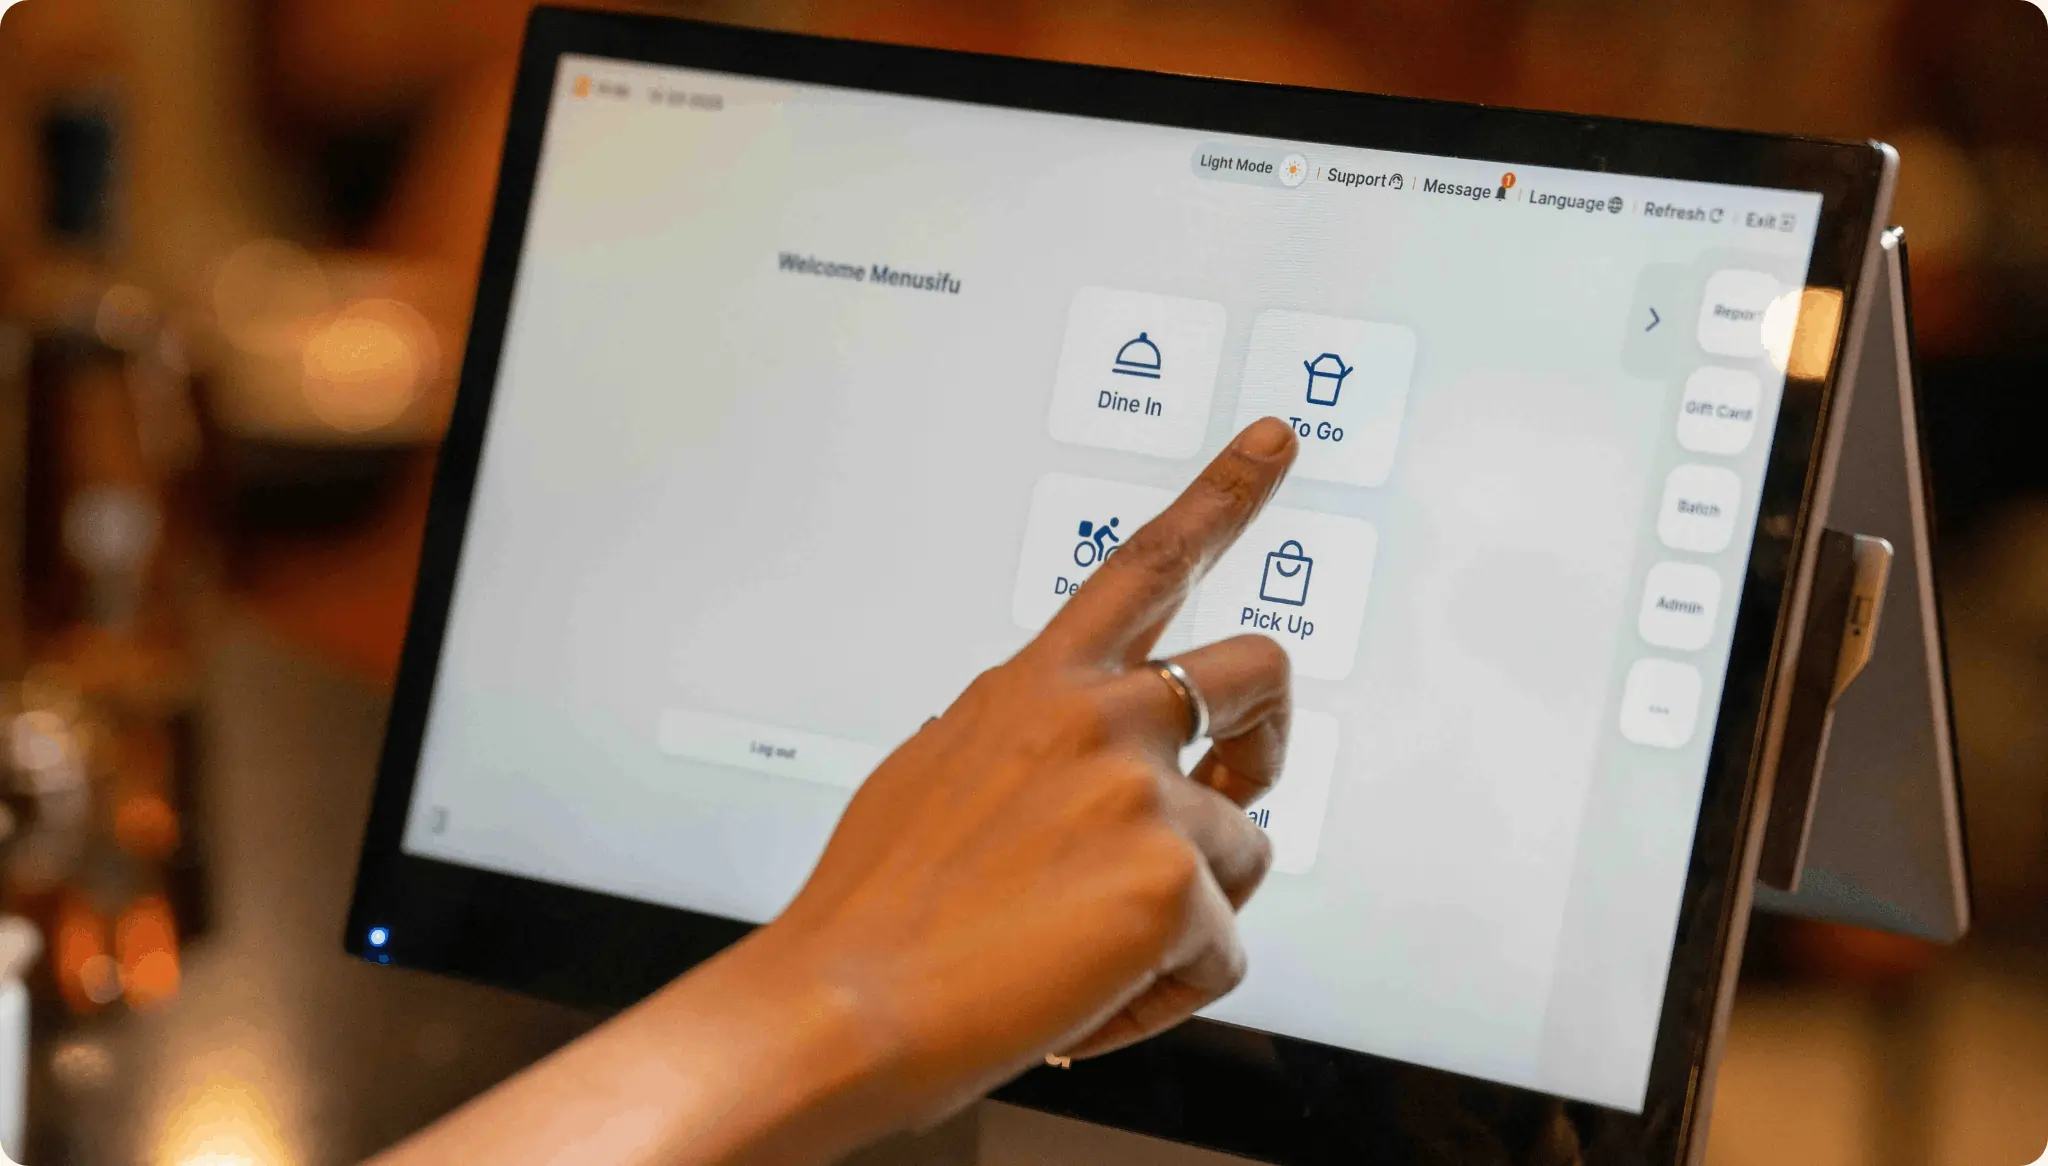
November 12, 2026
Learn how to implement QR code ordering in restaurants in 7 steps. Choose a system, set up your menu, configure payments, test orders, and train staff.
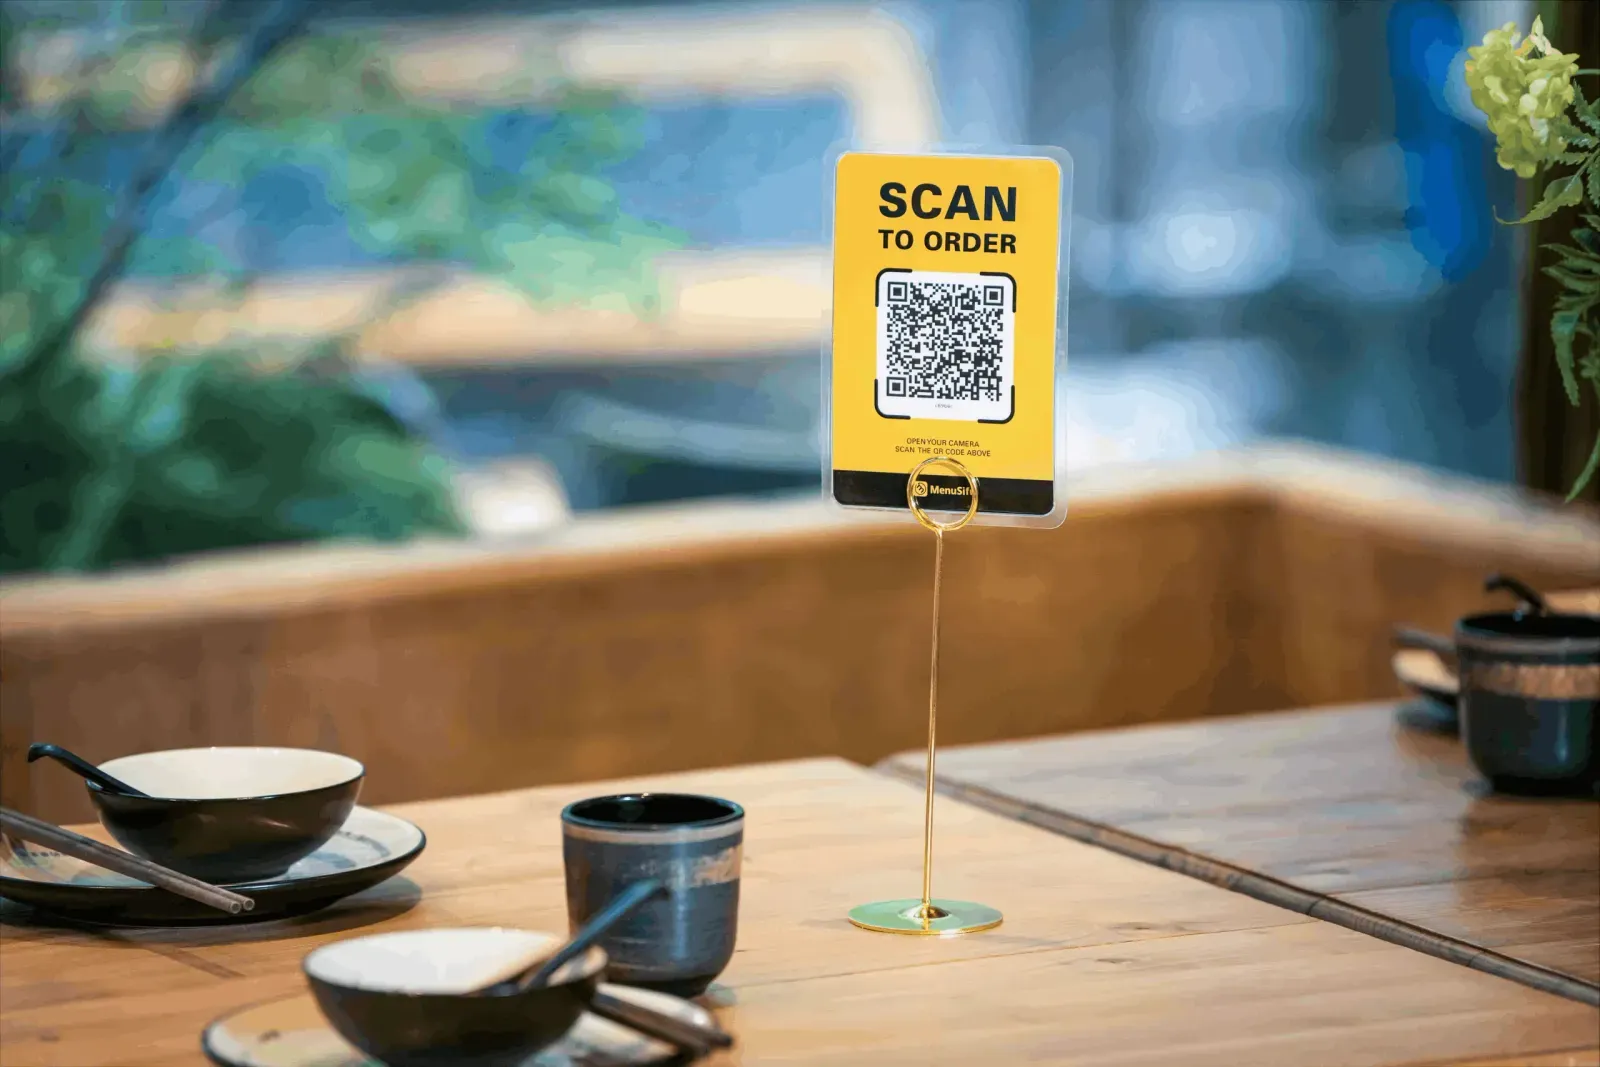
Taking orders manually can lead to longer wait times, order errors, and extra work for your staff, especially during busy hours. QR code ordering can help streamline the process by letting customers browse menus and place orders directly from their smartphones.
This guide explains how to implement QR code ordering in restaurants, from planning your ordering workflow to testing the system and preparing your team for launch.
Work through the following steps to set up your QR code ordering system and connect each part of the ordering process.
First, decide where customers will scan and submit orders. In a full-service dining room, you can place a code at each table so guests can order from their seats. At a counter-service location, customers might scan a code while waiting in line or after finding a seat. If you operate both models, map each ordering path separately.
Next, decide when payment happens. You might collect payment when customers submit their orders, allow them to pay at the counter, or settle the bill after the meal. Choose a process your staff can support consistently.
Finally, write down what happens after a customer submits an order. Identify where the order appears, which preparation station receives it, and who handles order completion and delivery. Include how your staff will distinguish dine-in orders from pickup orders if you offer both. Use this workflow as a reference when comparing software and configuring the system.
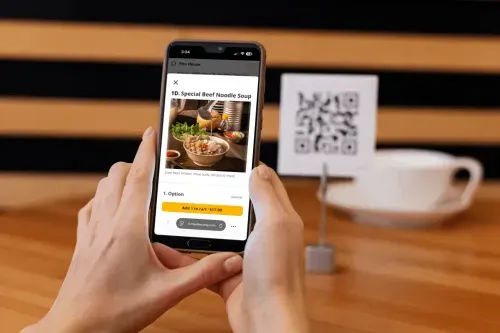
Use the workflow from Step 1 to compare platforms. Look beyond the ability to create QR codes: the software must support the ordering, preparation, and payment process you plan to offer.
Check these features before making a decision:
If you have a POS system, confirm that the ordering platform integrates with your specific provider and version. Ask how menu changes, orders, and payments move between the systems. If you don't have a POS yet, consider an integrated POS and QR ordering solution to keep order management in one connected setup.
Compare subscription charges, transaction fees, implementation costs, and required equipment before committing.
Once you've chosen a platform, build the menu customers will see after scanning a QR code. Add each item with its current price, a concise description, and a clear photo where useful. Group items into categories that match how customers browse, such as appetizers, mains, sides, and drinks.
Configure the choices customers need to complete an order. Add size options, cooking preferences, toppings, add-ons, and any extra charges. Set required selections where appropriate so customers cannot submit incomplete choices. If certain items are available only at specific times, configure those limits if the software supports them.
Preview the menu on different smartphones. Check text size, category navigation, item details, and the add-to-cart process. Make any necessary corrections to menu labels, prices, and item details before configuring order processing.
Next, connect the ordering interface to the place where your staff will receive orders. With an integrated POS, follow the provider's instructions to link QR orders to the POS and kitchen display or printer. With a standalone platform, configure its order dashboard and any supported kitchen connections.
Assign menu items to the appropriate preparation stations. For instance, route hot dishes to the kitchen and drinks to the bar. Set table identifiers, order types, and notifications so staff can see where each order originated and when a new ticket arrives. Confirm that the selected routing setup supports the workflow you defined earlier.
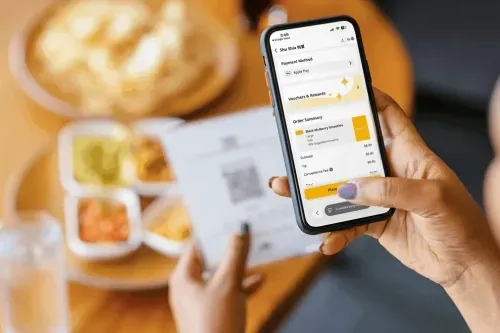
Then configure checkout. Enable the payment methods you intend to accept, set tax and tip options where applicable, and choose how customers receive confirmations or receipts. If guests will pay later, make sure the platform can keep their orders associated with the correct table or bill.
With the menu and order handling configured, generate QR codes through your ordering platform. Some systems create a separate code for each table; others support a shared code for a counter or pickup area. Select the method that matches your ordering workflow.
If you use table-specific codes, assign each code to the correct table number in the platform before printing. Keep a simple record of the code-to-table assignments so you can replace a damaged sign accurately. For shared ordering areas, confirm the code opens the correct menu and ordering location.
Print the codes at a readable size with sufficient contrast. Put them on table tents, stickers, or signs at the places you selected in Step 1. Avoid placing codes on heavily reflective surfaces that may interfere with scanning.
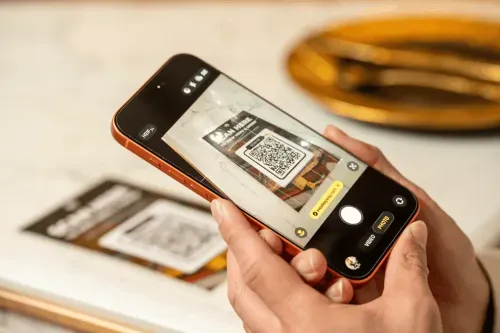
Before opening the system to customers, conduct an end-to-end test using a phone as a guest would. Scan a code, select items, choose modifiers, submit an order, and complete payment if that feature is enabled. Track the order through the ordering dashboard or POS system, confirm it reaches the kitchen, and check how staff mark it complete.
Repeat the test from different tables or ordering areas. Check that each ticket carries the correct table number, items, quantities, special instructions, and order type. Verify that dishes reach their assigned preparation stations. Test a sold-out item, a modified order, and a payment failure if the platform allows those cases.
Ask staff to complete the order as they would in normal operations. Record anything that fails or creates confusion, correct the setting or menu information, and repeat the test. Launch only after the full process works reliably.
Once testing is complete, show your team how the new order flow works. Walk through where orders appear, how staff confirm and complete them, and how they handle payments or customer requests. Assign responsibility for monitoring incoming orders so tickets do not go unnoticed.
Begin with a limited trial, such as one section of the dining room or a quieter operating period. Observe how orders reach the kitchen and how staff manage them alongside orders placed directly with employees. Use feedback from that trial to adjust responsibilities or system settings before expanding access.
Then make QR code ordering available across the selected tables or ordering areas. During the first few operating periods, review incoming tickets, table assignments, and completed payments. Resolve any recurring issues promptly and update your internal instructions if you change the workflow.
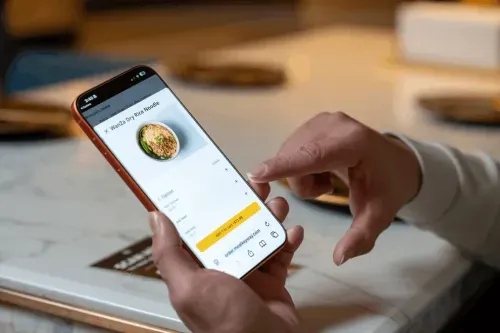
A successful QR code ordering setup starts with choosing the right system, configuring your ordering process, and preparing your staff before launch. With these steps in place, you can make ordering more convenient for customers while improving how your team manages incoming orders.
If you're setting up a POS system for the first time or considering replacing your current one to support QR code ordering, choosing an integrated solution can simplify the implementation process.
MenuSifu's Scan to Order works with MenuSifu POS to send customer orders directly to the kitchen. It offers three flexible modes: Browse Only, Order Only, and Order + Pay, along with digital menu management and mobile payment options.
Ready to explore QR code ordering at your restaurant? Book a Free Demo with MenuSifu to see how its POS and Scan to Order solutions can support your ordering workflow.
Before implementing QR code ordering, you may have additional questions about POS requirements, equipment, payment options, and setup time. The following information can help you prepare for the setup process.
Yes. You can use a standalone QR code ordering platform to receive and manage customer orders through a tablet or web-based dashboard. However, if you want to manage orders, payments, and other restaurant operations through one connected system, consider a POS solution with integrated QR code ordering capabilities.
You typically don't need additional ordering devices because customers can scan QR codes using their smartphones. However, you may need a compatible POS system, kitchen display, or printer to receive and process orders, depending on your QR code ordering solution.
Yes. Many QR code ordering systems allow customers to place orders through their smartphones and pay later at the counter or through restaurant staff. Check that your chosen system supports this payment option before setting it up.
The time required to implement QR code ordering depends on your menu size, the number of tables or ordering areas, and your POS integration requirements. A basic setup may take a few hours, while configurations involving multiple preparation stations or payment integrations may take several days. Check with your provider to estimate the setup and testing time based on your restaurant's requirements.
For more guides on QR code ordering, restaurant technology, and POS solutions, explore the MenuSifu Blog for additional insights and updates.
Related Articles: