1

June 30, 2026
Pick the right POS Terminal for your counter, bar, and dining room. Learn how the point of sale terminal works, compare types, and plan costs with a checklist.
Shifts run smoother when orders, tickets, and payments flow through one reliable POS terminal. Still, POS terms get mixed up quickly, and hardware choices can feel unclear, especially when you need a setup that fits your counter, bar, and dining room.
This post breaks down what a POS terminal is, what it does during service, and how it works behind the scenes. You’ll also learn how cloud-based and traditional options differ, which terminal types fit common restaurant layouts, and what drives total cost.
Ready to pick a setup that fits your service style and floor plan? Let’s start with a clear definition.
A POS terminal is the device your team uses to take orders and process payments during service. It can sit at the counter, run at the bar, or travel with staff on the floor as a handheld. In most setups, the terminal connects to your POS software, routes orders to the kitchen, and completes checkout at the table or register.
To compare vendors without getting tripped up by terminology, separate these three terms that often get mixed together:
When you compare options, focus on how the POS terminal fits your service flow and how the POS system supports your menu, staff, and reporting.
A POS terminal keeps the shift moving by connecting orders, payments, and team controls in one place.
Take orders the right way.
Ring in items, add modifiers, handle special instructions, and fire courses so the kitchen gets clean, consistent tickets.
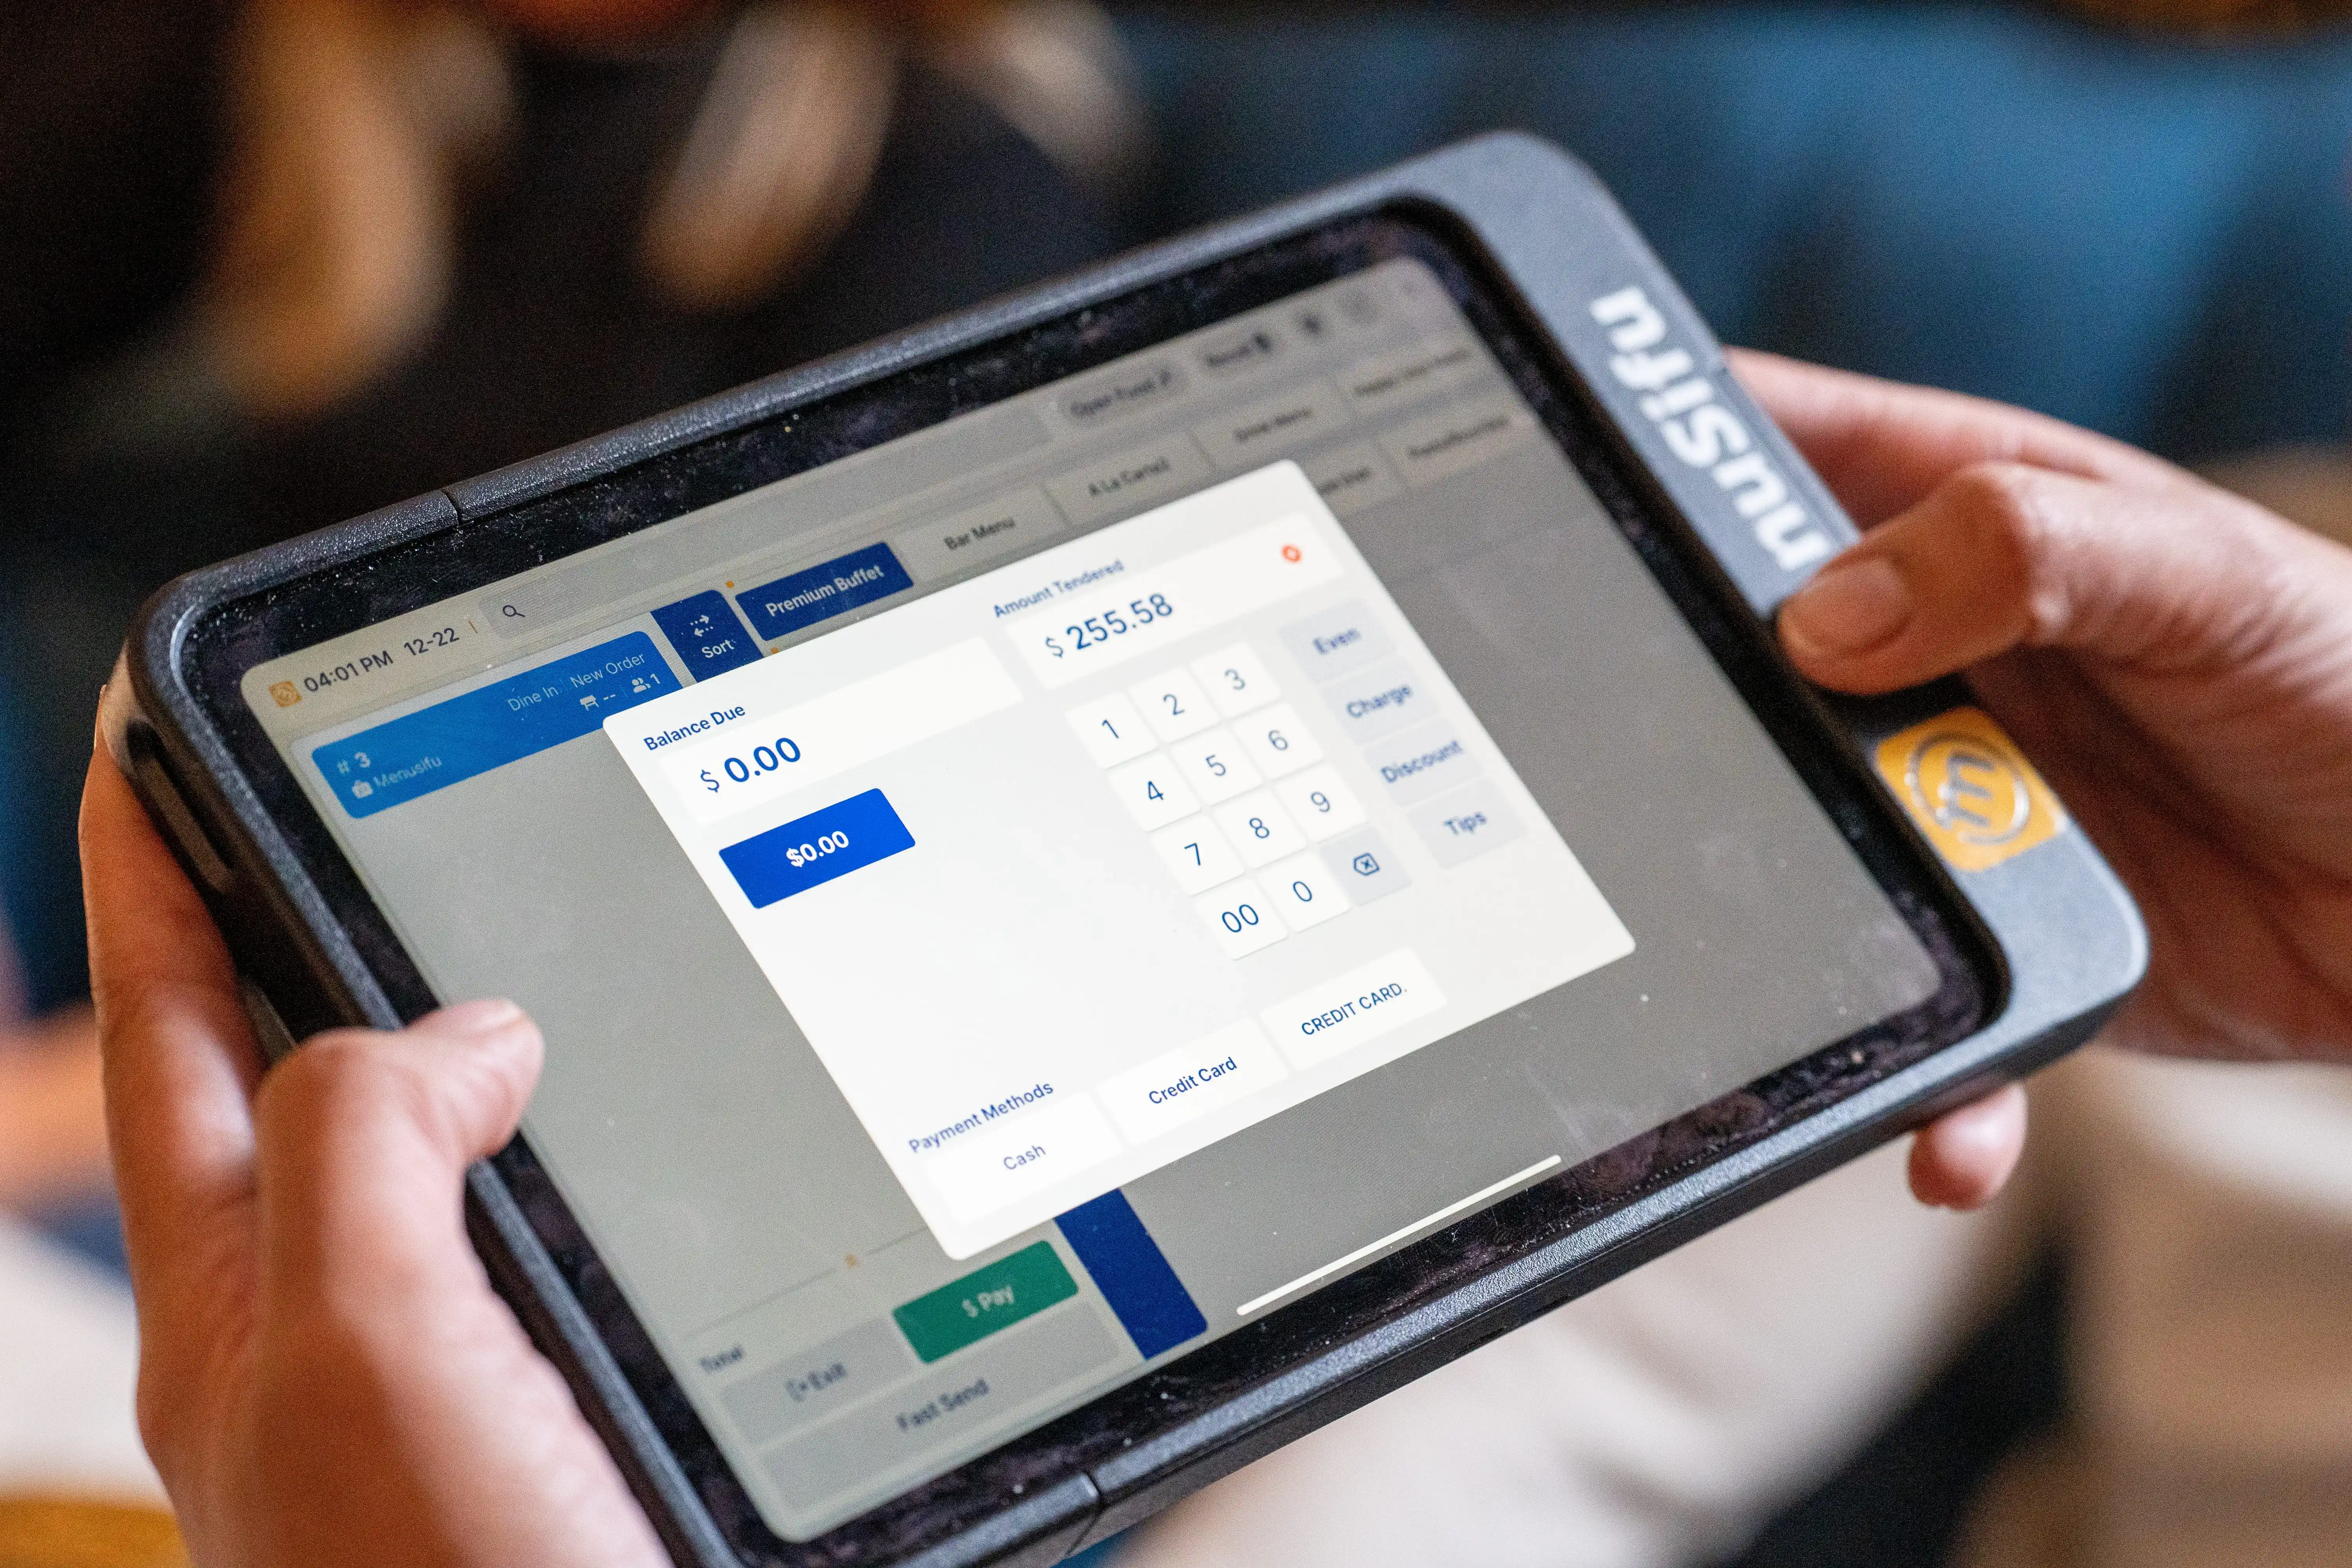
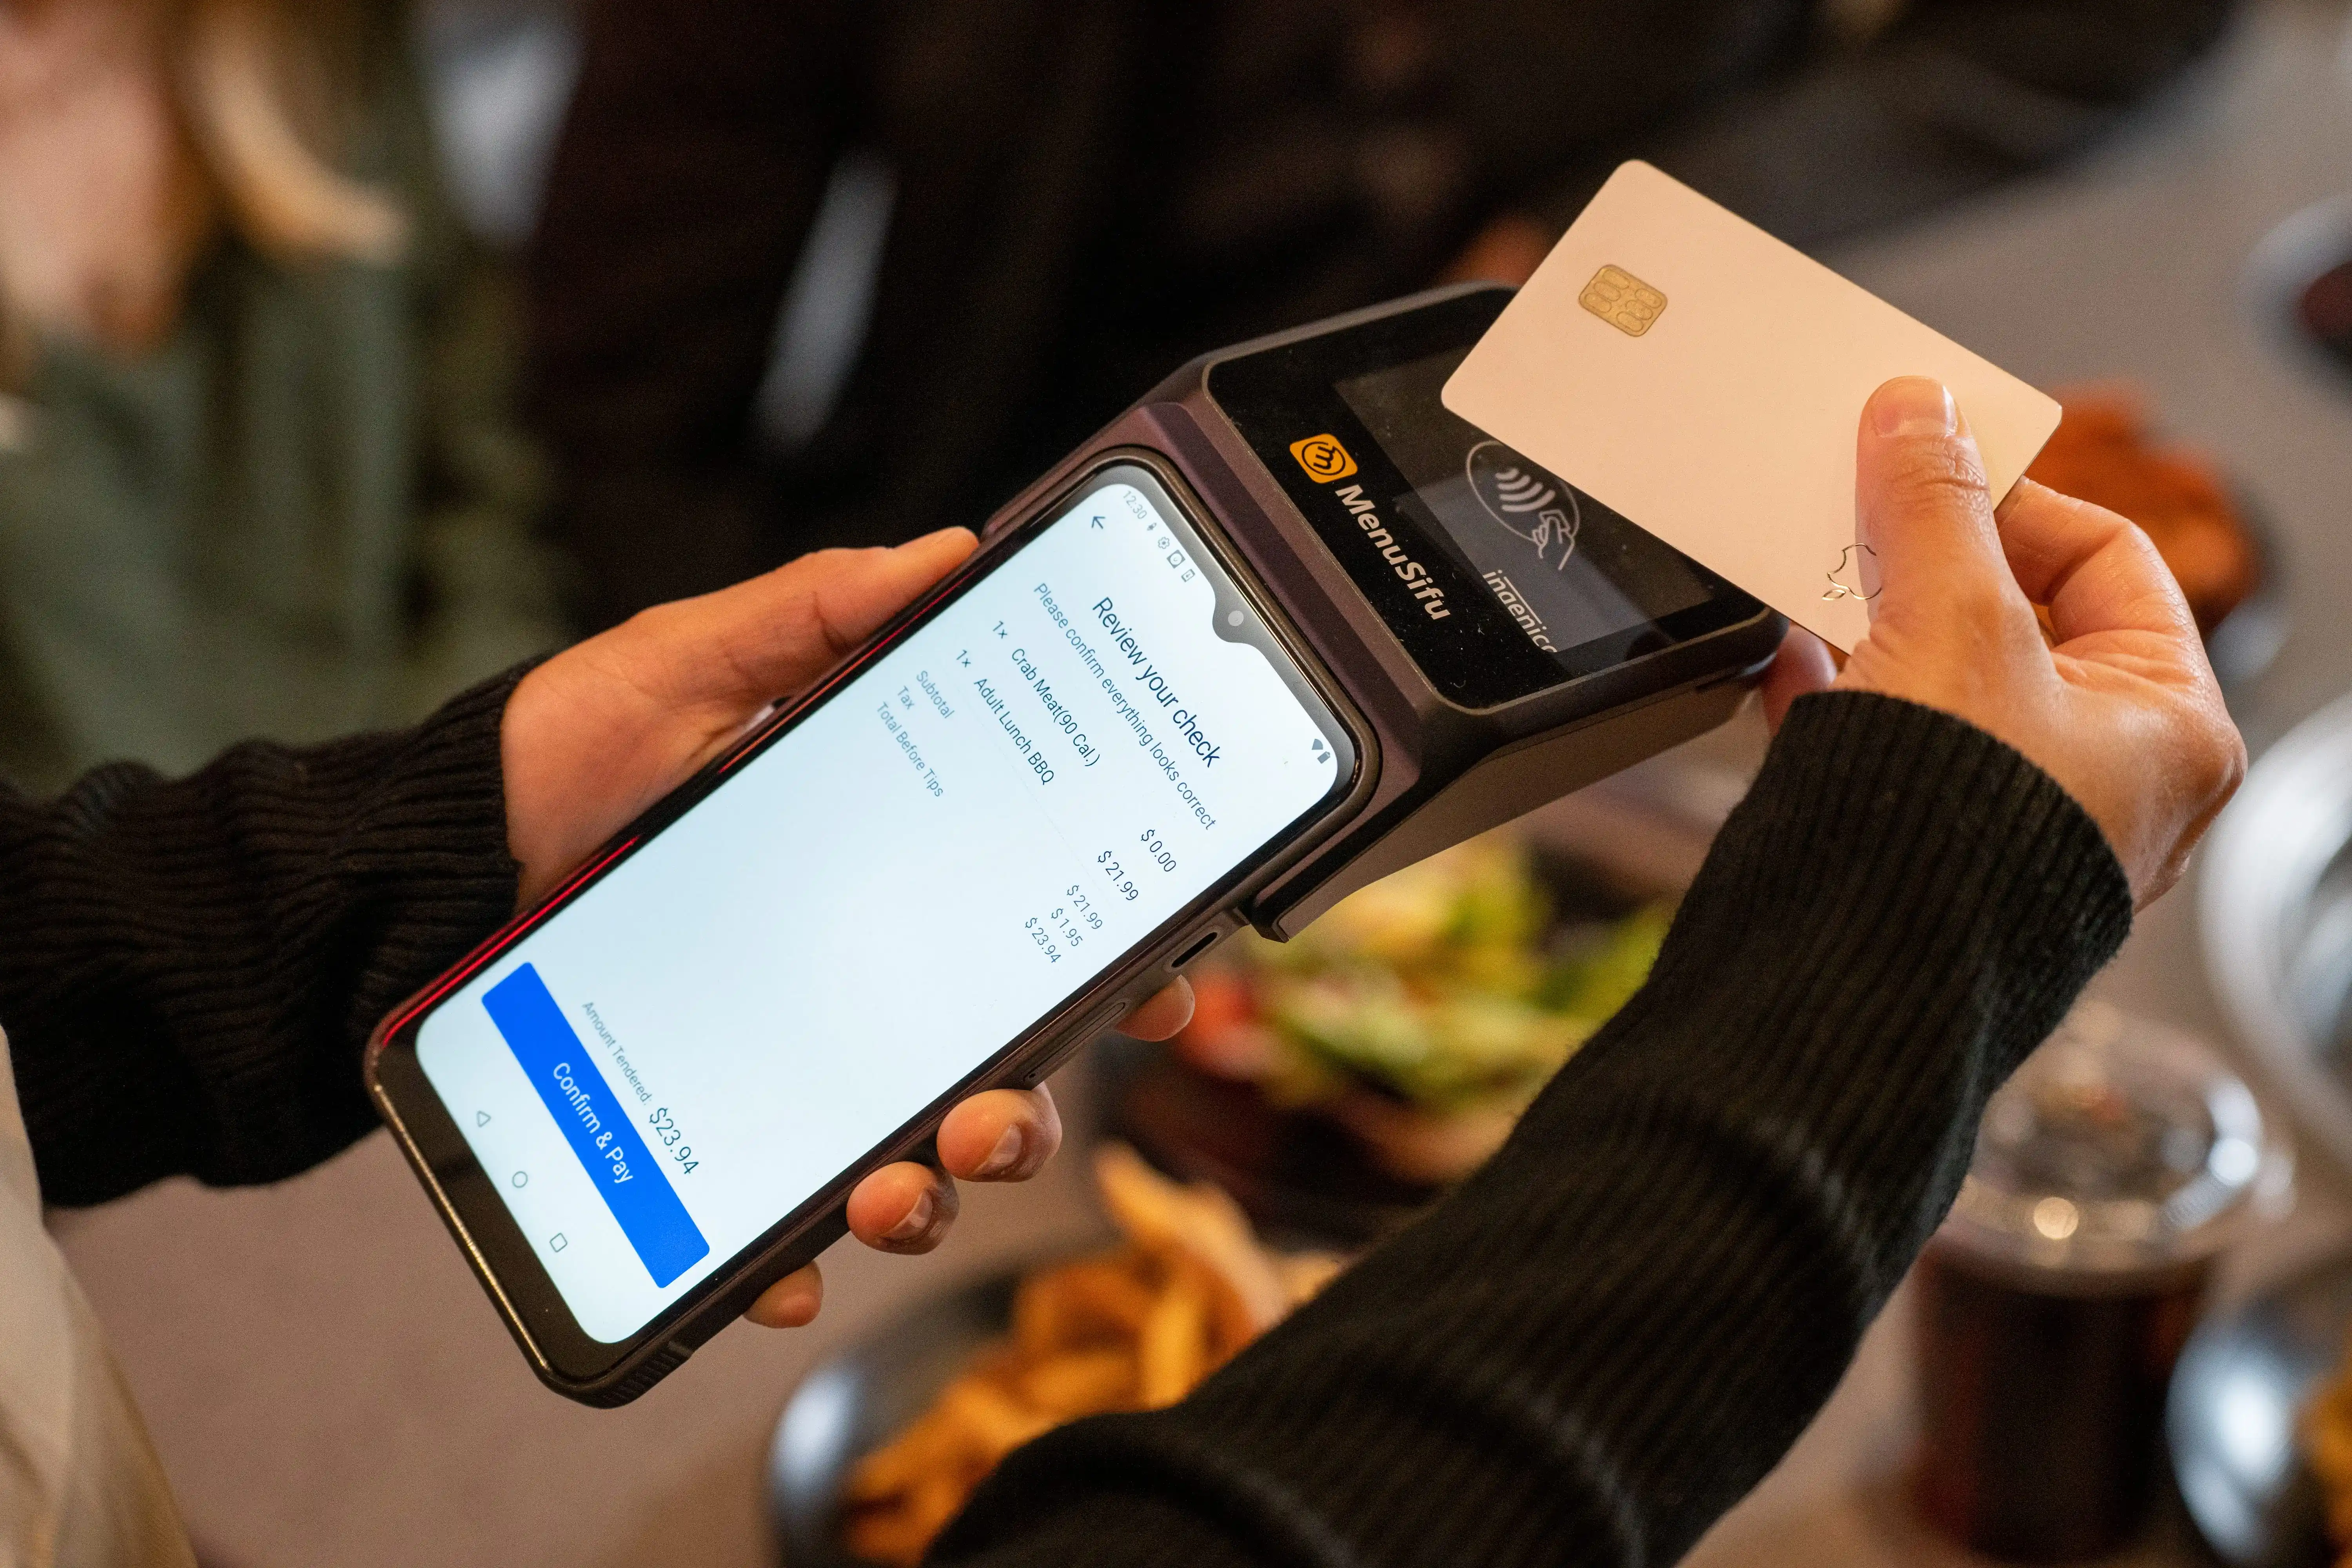
Handle payments at the pace of service.
Accept EMV tap, insert, or swipe. Split checks by seat or item, add tips, run refunds, and keep the closeout tidy.
Send tickets where they need to go.
Route orders to the kitchen printer or KDS based on station rules, so cooks see the right ticket at the right time.
Keep staff actions organized.
Use logins and permissions to control discounts, comps, and voids. Track sales by server, station, and shift for cleaner reporting.
Support a smoother guest experience.
Speed up checkout, cut down on re-rings, and enable tableside ordering or pay-at-table when you use a mobile POS terminal.
A POS terminal connects three things in real time: order entry, kitchen routing, and payment processing. Here’s the typical flow during a shift.
If the internet drops, many systems switch to offline mode. Some actions may keep working, like ringing in items and saving checks locally. Others may pause, especially card processing, since approvals rely on a network connection. When service returns, the system syncs saved activity back to the POS.
Modern POS setups protect transactions and access in a few key ways:

Cloud-based and traditional describe where your POS software runs and stores data. The POS terminal stays the device your staff uses on shift.
Start by matching the setup to how your restaurant runs day to day: uptime needs, location count, reporting, and support.
Close the decision by testing both options during a real service flow: order entry, kitchen routing, split checks, tips, refunds, and end-of-day closeout.
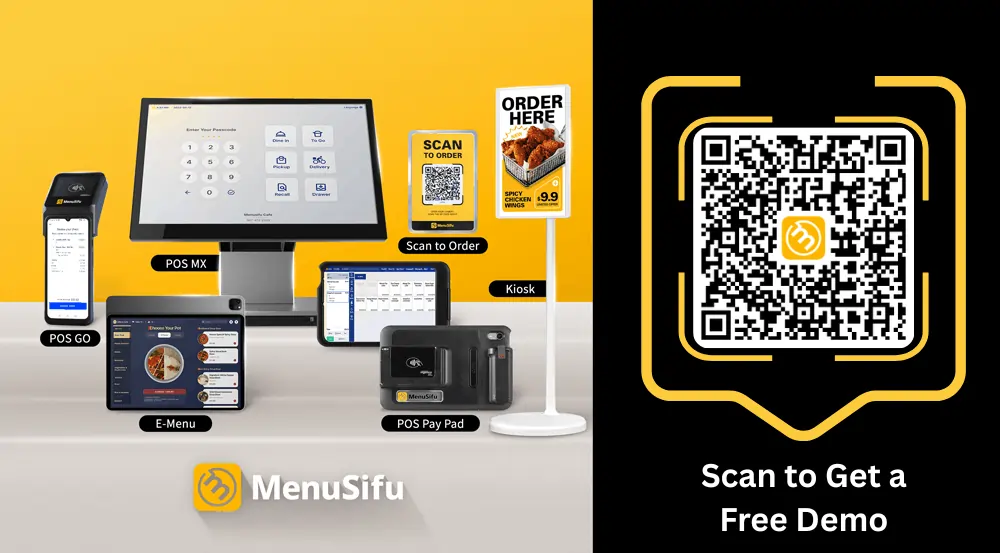
Most restaurants run best with a mix of terminals. Start by mapping where orders happen, where payments happen, and where tickets need to go. Then match the hardware to those points.
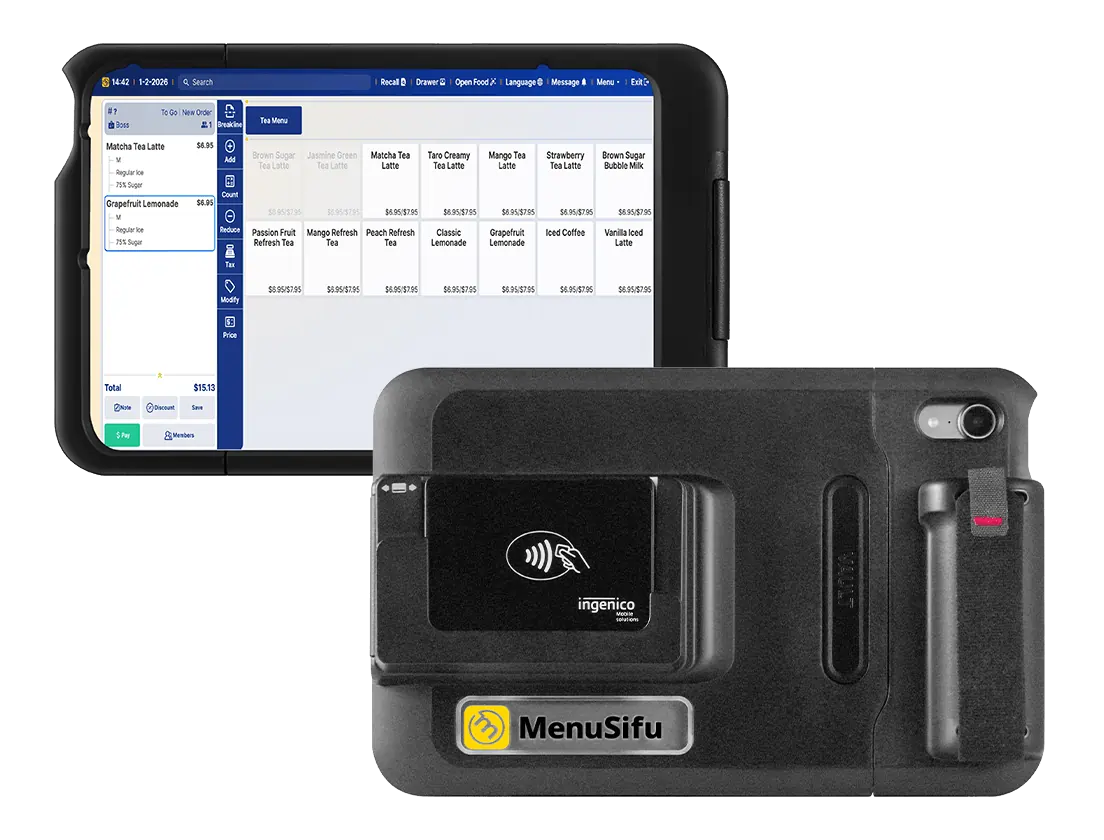
A countertop POS terminal anchors the front counter or host stand. Staff use it to open checks, take payments, split bills, and manage basic floor flow. This setup often becomes the main “home base” for cash handling, receipts, and quick edits.
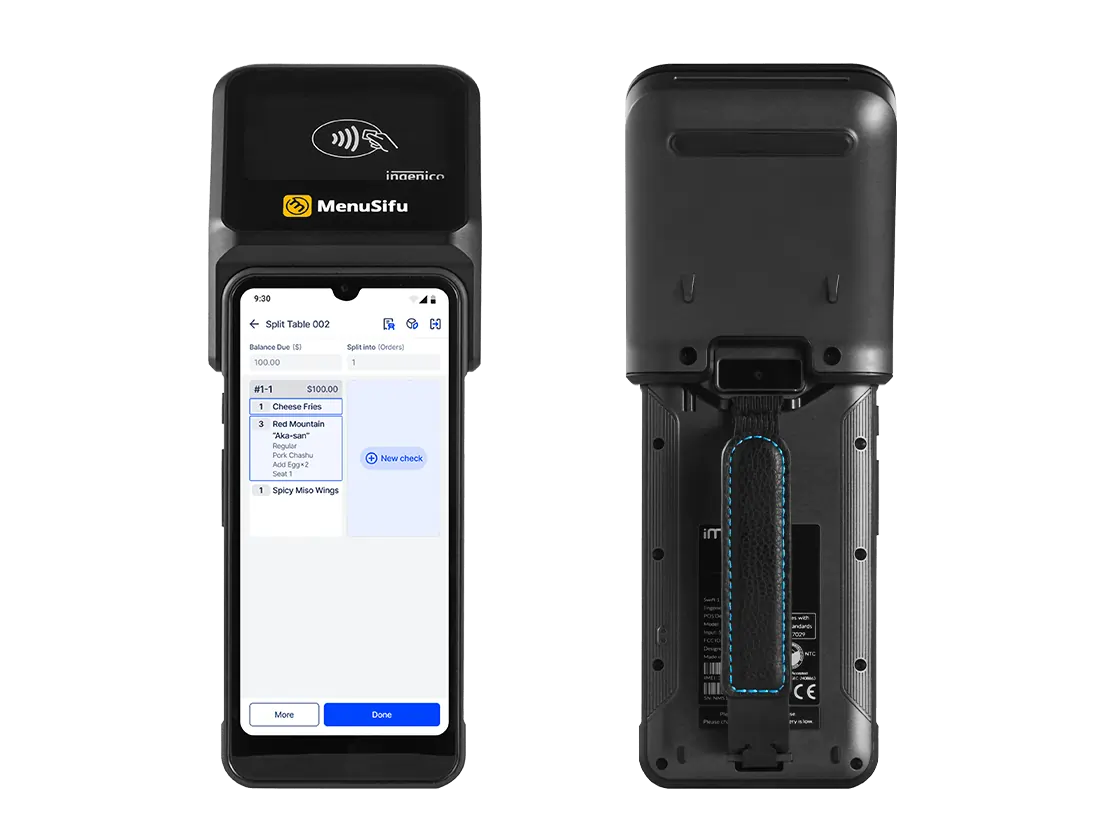
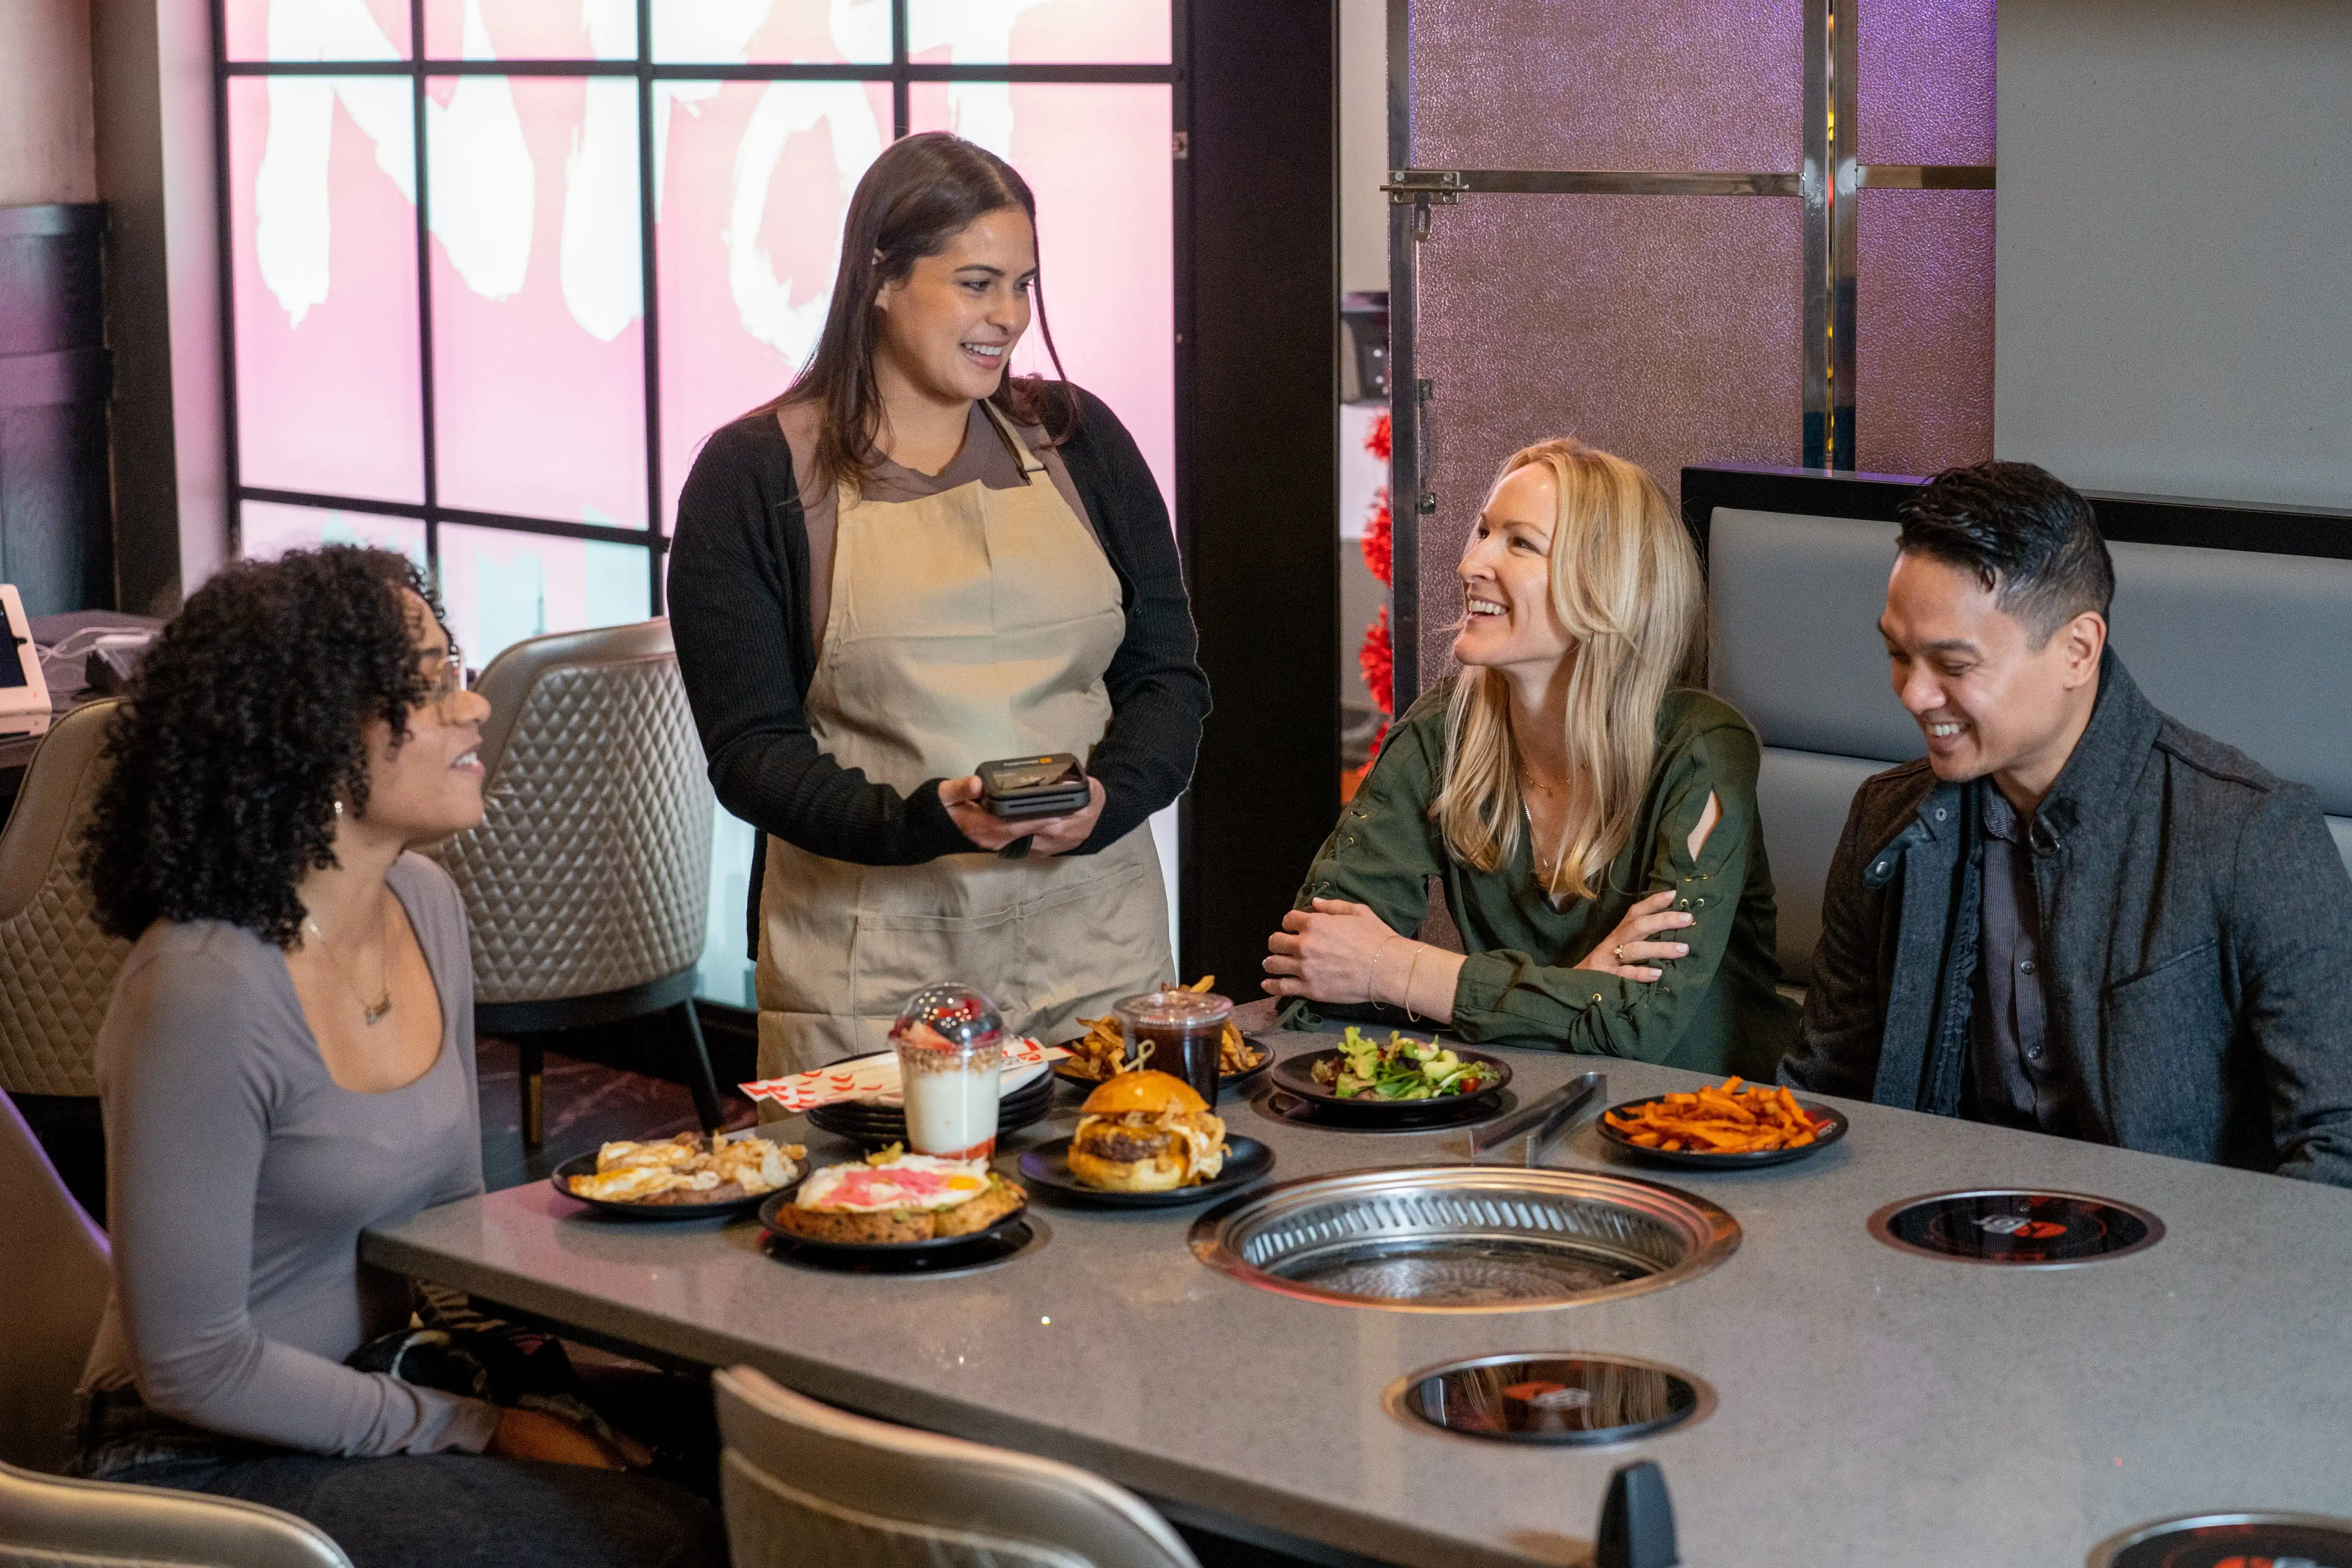
A mobile POS terminal keeps staff on the floor. Servers take orders tableside, send them to the kitchen instantly, and close checks at the table. It also helps during rushes by taking orders in line, running payments on the patio, or supporting bar service when the counter gets crowded.
Kiosks work well in quick-service and fast-casual settings with steady foot traffic. Guests place orders, customize items, and pay on-screen. Your team spends less time on order entry and more time on pickup flow and guest support.
Kitchen terminals, often KDS screens, display incoming tickets, timing, and prep status. They help organize station work, keep orders visible, and support expo coordination. This option fits best when ticket volume climbs or multiple prep stations share the load.
A hybrid approach combines countertop stations with handhelds. For many 1–5 location operators, this mix covers the key touchpoints: a stable checkout station up front plus mobility on the floor. It also gives you backup options if one device goes down during service.
A POS terminal should fit how service runs on your busiest shift, not how it looks in a demo. Use these five areas to quickly narrow your options.
Start with how orders and payments move through the room.
Next, map your service points.
Count where orders happen: host stand, bar, counter, expo, patio, and any separate dining rooms. If staff crowd around one station during rush, add another checkout point or use a mobile POS terminal to spread the load. For drive-thru, plan for fast order entry and a setup that keeps tickets organized during surges.
Hardware affects speed and downtime.
List the systems that connect to your operation, then verify compatibility.
Look for clean connections to online ordering, delivery, loyalty, gift cards, and accounting. Ask how the POS handles menu updates across channels, how it tracks fees, and how it reconciles sales with payouts. Solid integrations cut down on manual entry and end-of-day cleanup.
A great setup still fails if the team struggles to use it.
Choose an interface that matches how staff think during service: clear buttons, quick modifiers, and simple table views. Use role-based access to control discounts, voids, and refunds. Plan for training with real scenarios like split checks, comps, and rush edits, so the first weekend runs smoothly.
POS terminal pricing depends on the device type and what you include in the setup. Start by looking at your service flow, then build a realistic budget around the stations you need.
You’ll typically see a few routes:
A few items push the total up or down quickly:
These expenses often show up after install:
If you price one complete station first, then multiply by how many service points you run at peak, you’ll get a clear number to compare across POS options.
The right POS terminal setup supports your service flow from the first order to the last closeout. Start by mapping where orders and payments happen, then choose the terminal mix that fits those service points. A countertop station can anchor the host stand or register, while handheld devices can support tableside ordering, patio coverage, and bar service. Build your budget around a complete station and confirm essentials like offline capability, payment types, kitchen routing, warranty coverage, and replacement speed.
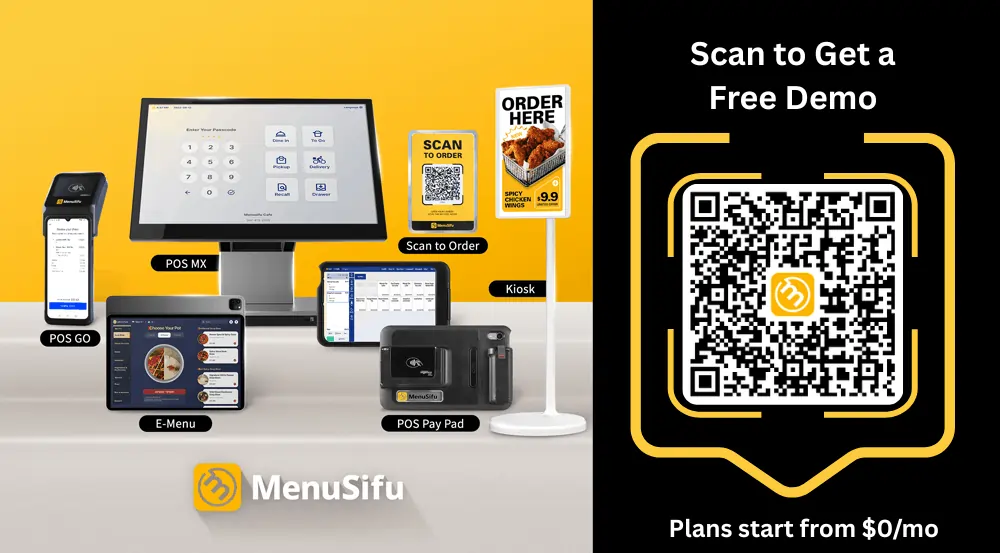
If you want help turning your floor plan and peak-shift workflow into a practical POS terminal plan, MenuSifu can walk through options and recommend a setup based on how your team works on shift. Book a Free Demo with MenuSifu today!
Use these FAQs to compare POS terminal costs, features, and setup steps so you can choose hardware and software that fit your service style and daily workflow.
A POS terminal can cost $50 to $300 for a basic payment device, or $500 to $2,500+ for a full restaurant-grade POS terminal setup (tablet/terminal, stand, and core hardware).
Most providers also charge $50 to $300 per month for POS software (either per terminal/device or per location), depending on the vendor, plus payment processing fees that often run about 1.5% to 4% per transaction with a small fixed fee. Leasing/financing can reduce upfront costs to roughly $25 to $60 per month for hardware.
Rates and monthly fees vary by provider and plan, so ask for a written breakdown of software, hardware, payment processing, support, and any add-on fees before you decide.
A POS system includes the full setup that runs sales and operations: POS software, back office tools (menu management, reporting, employee access), payment processing, and connected devices. A POS terminal is one of those devices, the physical screen or handheld staff use to enter orders and take payments. In short, the system runs the business; the terminal handles service at the point of sale.
Most POS terminals need internet for cloud syncing, online payments, real-time reporting, menu updates, and integrations like delivery apps and accounting tools. Many systems still let you take orders and send tickets offline, then sync data once the connection returns, but card processing and remote features may pause until you’re back online.
Yes. You can use your phone as a POS terminal by running a POS app and pairing it with a compatible card reader. Some setups also support tap-to-pay on the phone, depending on your provider and device.
Keep in mind that a phone-based setup works best for light volume or as a backup, while many restaurants use dedicated handhelds or countertop terminals for durability, battery life, and faster shift workflows.
Start by unboxing the terminal, plugging it into power, and connecting it to your Wi-Fi or Ethernet network. Turn it on, install system updates, then sign in to your POS account or run the setup wizard.
Connect and pair peripherals such as the receipt printer, cash drawer, barcode scanner, and card reader, then run each device's test. Add your menu, taxes, service charges, and staff logins, then set up payment types and tip options. Process a few test orders, print receipts, and run a small live shift to confirm everything works.
A POS terminal (point-of-sale terminal) is the device or touchscreen system where restaurant staff ring up orders and take payments. It connects to your POS software to send tickets to the kitchen, apply taxes and discounts, process card or digital payments, and record each sale for reporting and inventory tracking.
A POS terminal processes restaurant sales at the counter or table. Staff use it to enter orders, send tickets to the kitchen, accept payments, apply discounts, manage tips, print or email receipts, and track sales data for reporting and inventory.
For more insights and updates, check out our blog section regularly for new guides on POS hardware, restaurant operations, and service workflows.
Related Articles: